In a flange weld, holes are drilled in the body at the edge of the hole,
revealing the bare steel of the patch panels underneath
(red arrows).
 Holes are drilled outside in Holes are drilled outside in
The flanged patch panel is then inserted into the hole from behind (hole was
used as a template for the panel and then ¼” to ½” was added to the circumference
for the flanged area). The flanger bends the panel edges so that they are lower
than the center area, allowing a good, flush fit to the body when the welder is
suck through the red arrow holes as the patch panel is held up against the backside
of the area to be repaired. The resulting patch panel overlaps the hole, but less
filler is required due to the metal shaping that was done with the flanger.
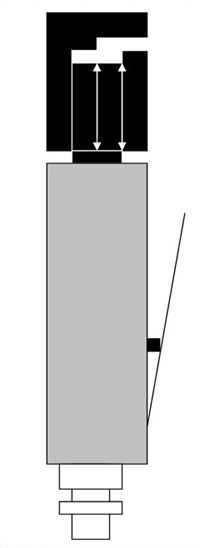
 The Flanger head has a slot that the steel is fitted into. When the lever is
depressed, the “mouth” of the flanger slams shut and bends the steel to match it’s
shape. It chatters open and shut rapidly, allowing the operator to move the tool
around the edge of the piece of metal being worked. The result is a slightly
depressed outer area, shown in light gray here

If done correctly, the dark gray area should be the only portion visible when
the panel is inserted.
|

